By Laurel Aiello

It’s almost time to plant vegetables in the garden, but if you love cool-season crops as much as we do, you’ve probably already started. When planning out your veggie garden, it’s important to know when to plant different types of seeds and when to transplant starts from their controlled environment (the greenhouse or a sunny windowsill) into their summer home outside. Whether you have an in-ground garden or raised beds, consider these distinctions between direct sow veggies and veggie starts to ensure that they not only survive, but thrive.
Direct Sow Veggies
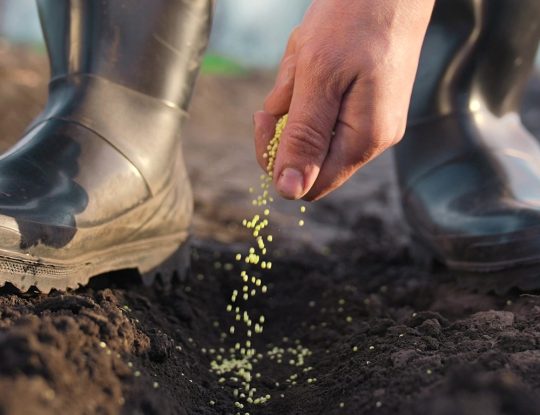
“Direct sow” refers to planting seeds directly into the garden rather than starting them indoors. Many of these seeds are able to germinate in cooler temperatures—like broccoli, brussels sprouts and snap peas—so they don’t need to start out in a warm, humid environment like tender vegetable plants do.

In fact, many of these veggies prefer cooler temperatures and will stop producing when it gets too hot. Spinach, kale, swiss chard and other leafy greens are a great example: They thrive in 50-70°F weather and will “bolt” (or go to seed) when temperatures stay around 80°F, especially if they are being scorched by the afternoon sun.
Semi-hardy vegetables can be direct sowed into prepped garden soil a few weeks before the last frost, usually in late April or early May. However, if a snowstorm is expected, it’s never a bad idea to cover cold-tolerant veggie seedlings with frost cloth so they have some protection. You can also buy garden bed covers, walls of water, and other season extension materials to get a head start on spring planting, even for some of the more tender veggie plants.
Root vegetables should also be direct sowed into the garden, as transplanting them can cause damage. That’s why you don’t see carrot starts, radish starts or turnip starts at garden centers; those veggies thrive when their seeds are planted directly into the garden in groups or rows and are thinned as they germinate to mitigate crowding. Many root vegetables are also considered cool-season crops, though some, like carrots, can be planted successively throughout the season.
Aside from root vegetables and cold-tolerant crops, veggies and herbs with a short maturity period can also be direct sowed into the garden. Bok choy, green beans, radishes, cilantro, basil and other quick-to-mature crops don’t need a head start indoors and can be harvested in early to mid-summer. On the other hand, vegetables with an 80-day maturity period are more likely to produce fruit in Northern Colorado’s short growing season if started as seeds indoors in March.
Transplanting Veggies

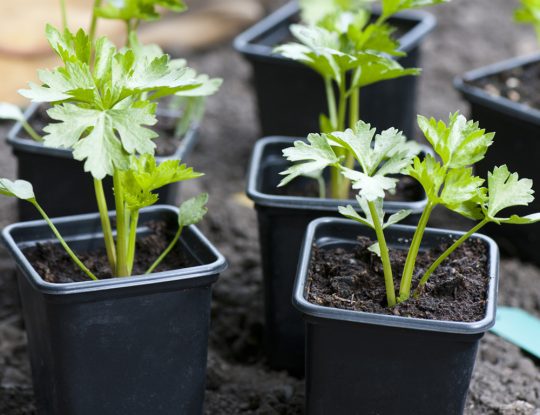
Vegetables that either have a longer maturity period or are not cold tolerant benefit from being started as seeds indoors and transplanted into the garden after the last frost, which typically happens around Mother’s Day. Those plants range from peppers and tomatoes to cucumbers, squash, and melons.
It’s important to “harden off” vegetable starts before transplanting them into your garden so they don’t get shocked or damaged by the abrupt change in their environment. Seedlings started indoors are accustomed to a controlled environment with little variation in temperature or humidity, and they haven’t been exposed to direct sun or wind. Harden off veggie starts by placing them outside in their nursery pots for a few hours each day, gradually increasing the length of time over a week so that they are more resilient when you transfer them to the garden.
Prior to planting, make sure the soil in your garden or raised bed is amended with two parts topsoil and one part well-aged compost (or fill your containers with a raised bed mix if it’s your first time gardening). Add supplemental “dressings” as necessary—such as Happy Frog Tomato/Vegetable Fertilizer, worm castings and soil microbes—and mix it well. There are tons of soil amendments to choose from, and not all of them are beneficial for every garden, so consult the experts at your local nursery if you’re not sure what ingredients to buy.
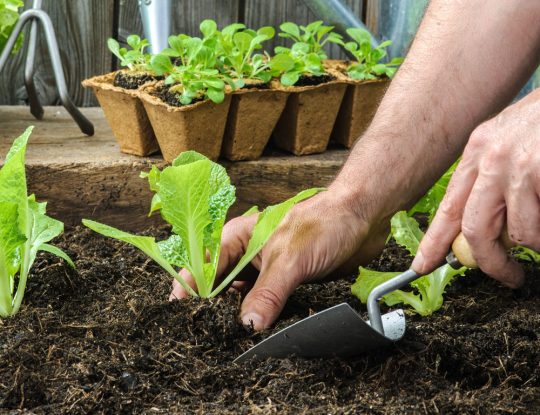
Finally, remove your plant starts from their pots and gently tease their roots with your fingers so they don’t continue spiraling into a ball once they’re in the ground. The soil you’re planting into should also be loose and messy, and you don’t want the hole to be deeper than the pot the plant was in. Tuck your plants down into the soil, water them well and check back daily to watch them grow.
Originally published on April 30th, 2024.
